4 Things To Know Before Creating A Rock Garden

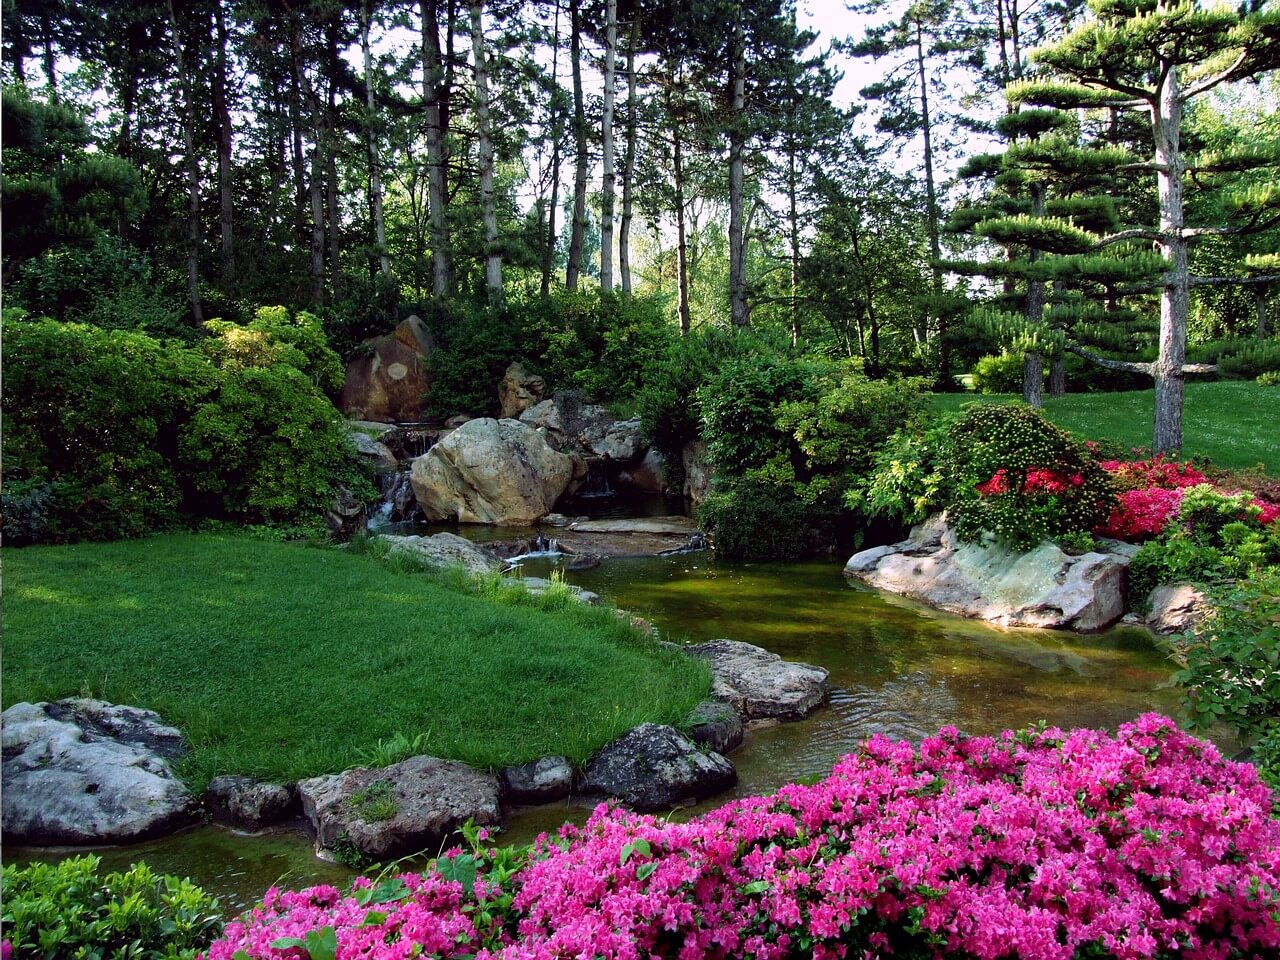
Rock gardens are a great and creative way to add unique shapes and textures to a garden landscape while giving it a natural feel! The combination of rocks, plants and flowers is an inexpensive way to enhance the beauty of your rock garden design. To maximize your rock garden, there are four aspects to evaluate; drainage, sunlight exposure, existing house exterior design and trees and flower beds.

rockgarden

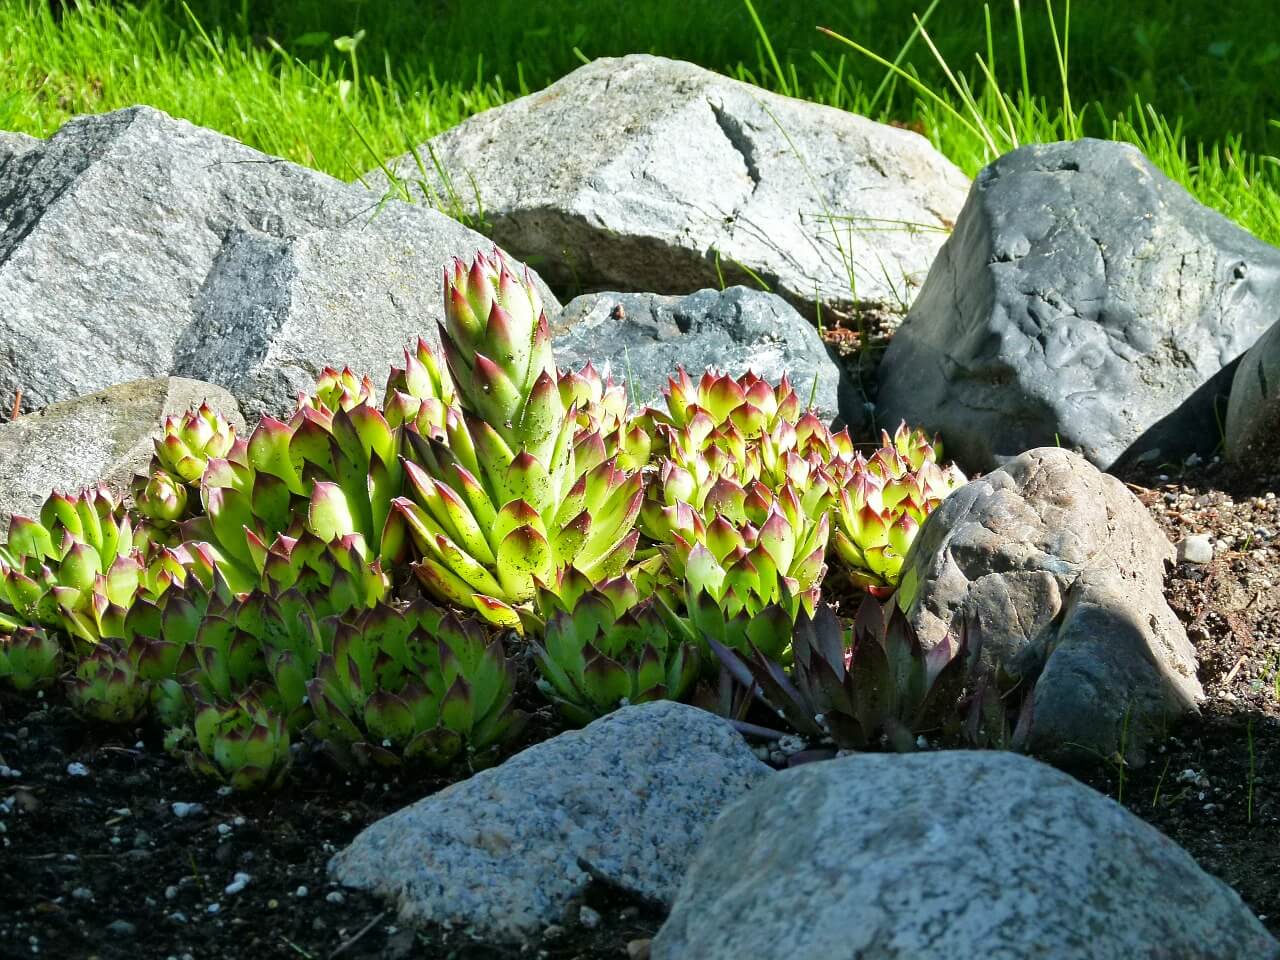
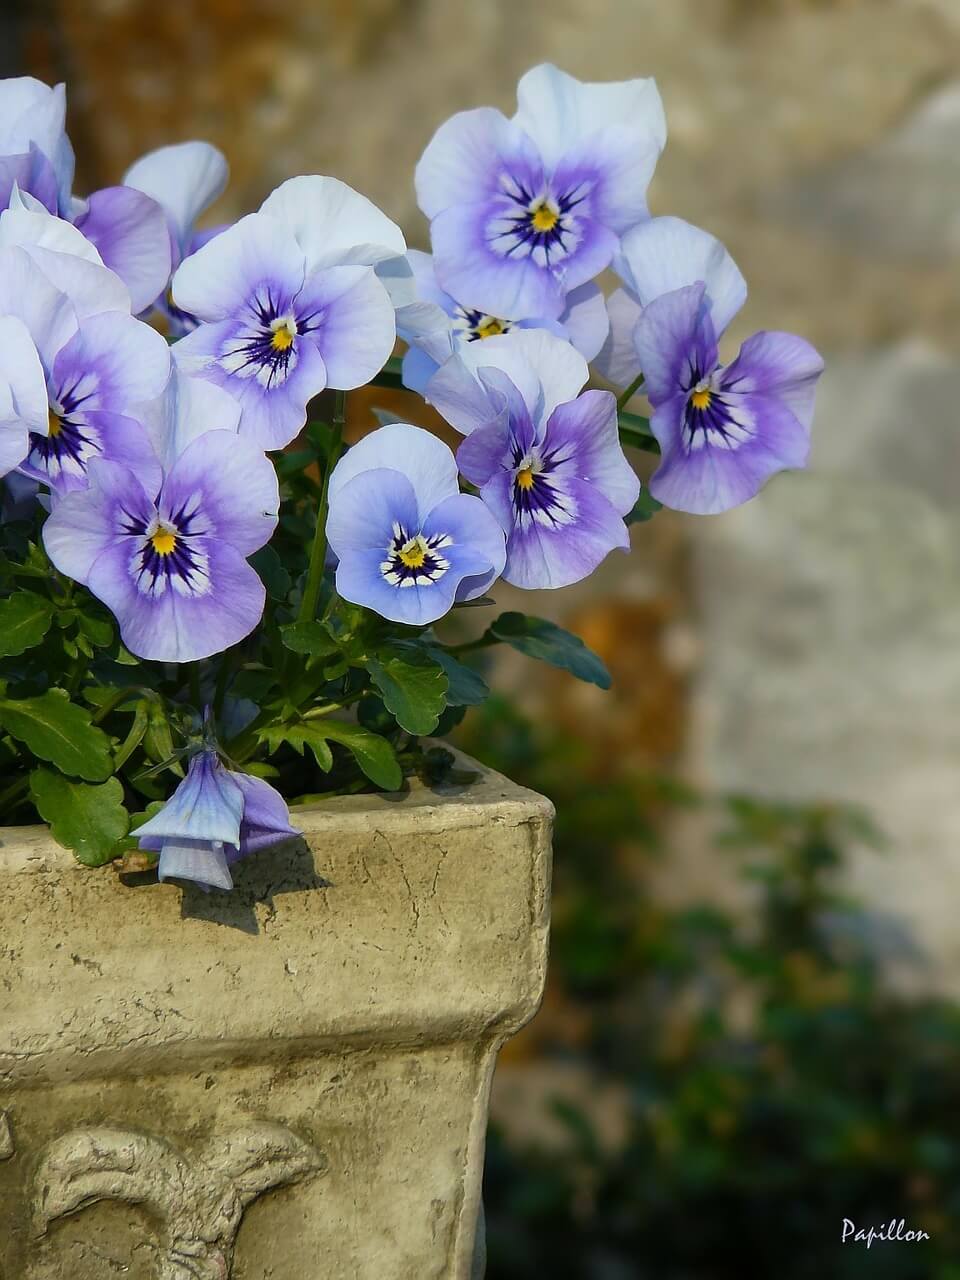
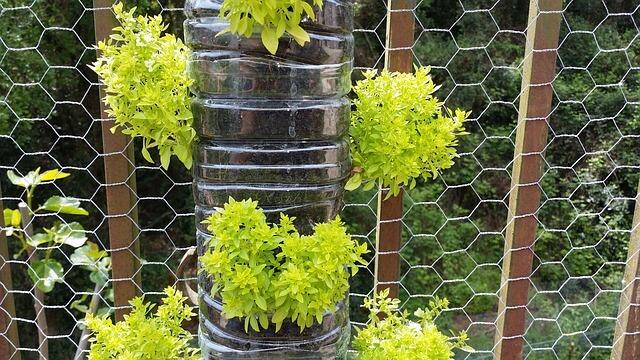
                                  Be unique by combining flowers and rocks into your own rock garden!

Drainage

Rock garden design requires a location that has good drainage. Areas that are slightly raised (like slopes) are perfect for designing attractive rock gardens. Plants may not thrive and/or rot in areas that stay wet for too long!

Sunlight Exposure

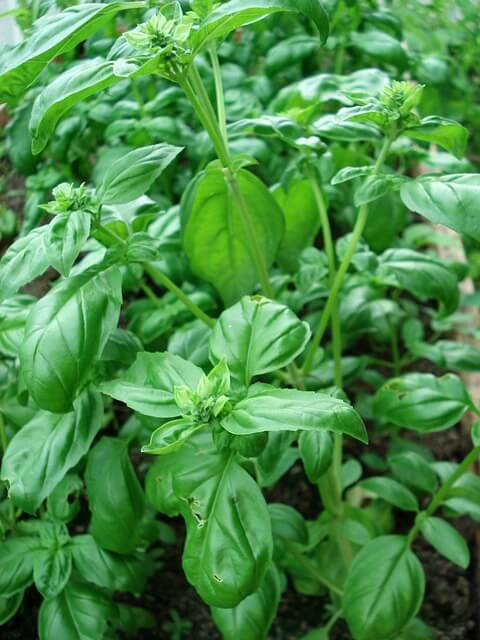
Sunlight exposure is usually critical for most plants and flowers although some plants grow well in shade. If your backyard or front yard has bright and shady areas, it is a great idea to design few different rock gardens.

Existing House Exterior Design

A large rock, brick and stone wall look beautiful, natural and enhance the visual appeal of a rock garden design. A good rock garden design requires an attractive background that you can add. A natural rock garden can be created without it. Need some inspiration? Here’s 20 Rock Garden Design Ideas!

Trees and Flower Beds

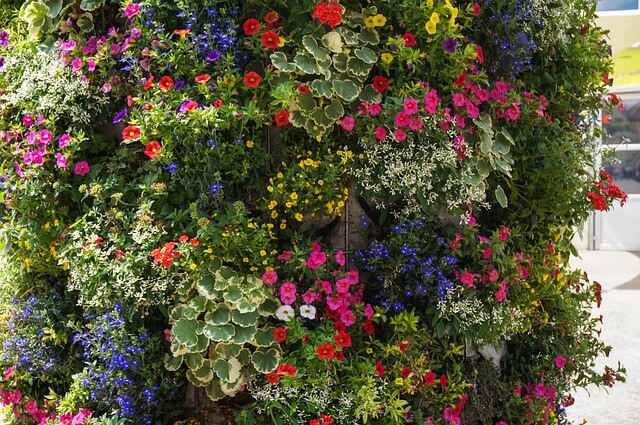
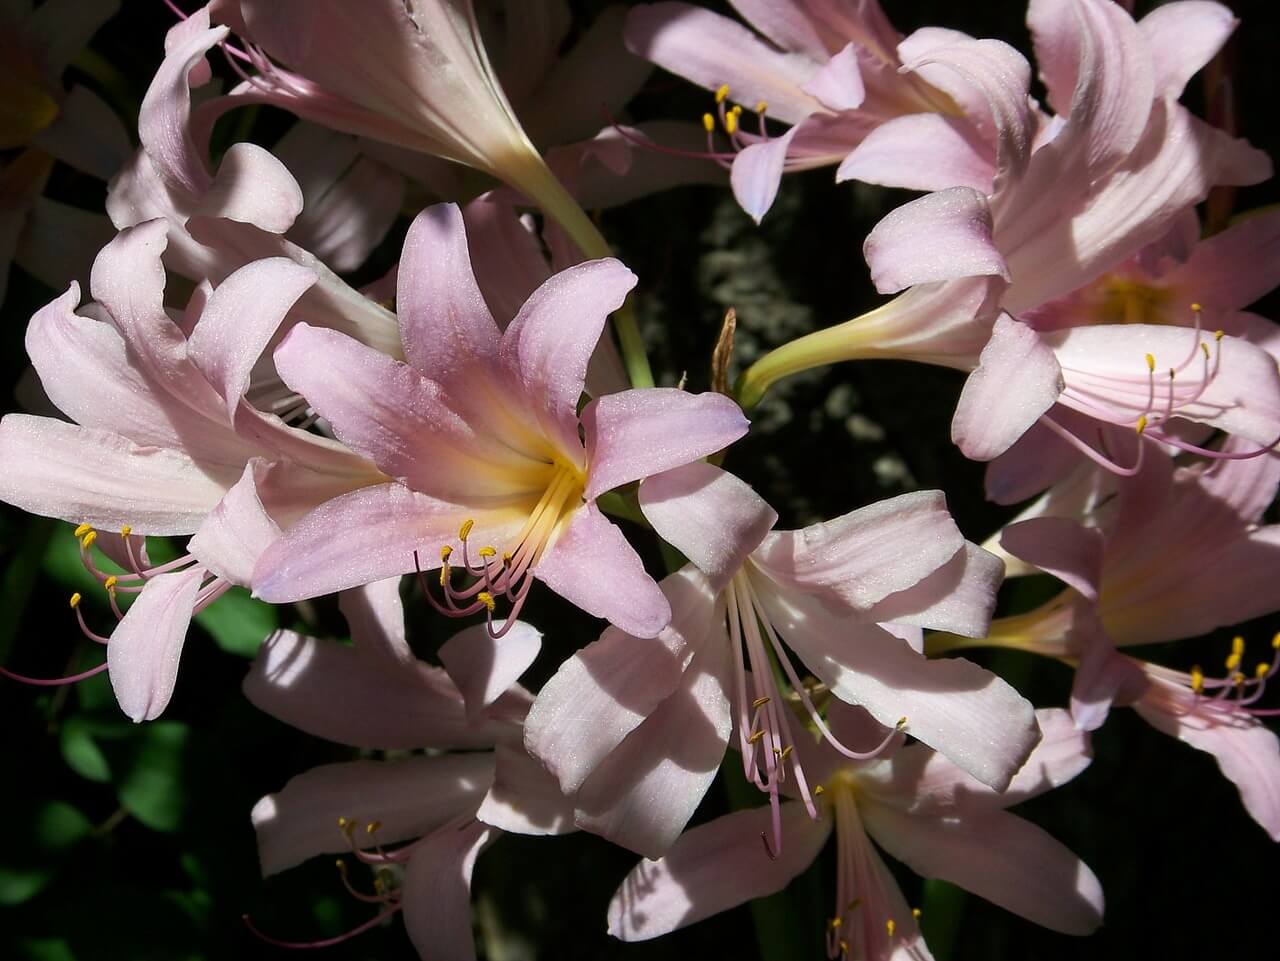
Trees and flower beds provide colors. And with the changes of the seasons, your rock garden will constantly be interesting, surprising and beautiful! Rock garden plants with an informal design add a natural charm and simplicity yet still looking elegant.

Inspired? Let Whispering Springs help you out. We can create a rock garden for you! Visit our hardscape services page to find out more information, or give us a call at 770-893-1254!


Avoid Mistakes In Your Container Garden

Container gardening has been a great way of gardening for as long as we can remember. It’s quick, it’s easy and you can make it your own by arranging pots with your own style! While container gardening may be slightly easier than planting into the ground, simple principles are often overlooked. Here’s a few things you may have overlooked!

pansy-260837_1280

image via pixabay

1. Move the big pots first, then fill! Luckily once filled with soil and plants, little pots are still fairly easy to move. But once the large pots are filled, they will be extremely heavy to move. Try to find a place for the large pots first before filling it, and assume it will stay there. You’ll save your muscles a lot of energy!

2. Don’t over water your plants. Not enough water can kill plants, but so can too much! Signs of over watering include yellow leaves or limp plants. Try to buy containers that have drainage holes. Also, check the moisture requirements for the plant you have, and follow those instructions accordingly.

Rule of thumb: Before watering, check if the soil is moist! To do so, stick your index finger two inches beneath the soil. If it’s dry, water them!

3. Don’t under water your plants! In the summer especially, most containers need watering at least once a day. Smaller ones or hanging containers may need more, because there is less soil to hold the water. Try to water until you can see the water coming out from the bottom of the container.

4. Buy healthy plants! When buying starter plants versus seeds, make sure your plants aren’t sick (disease and pest free). Buying at nursery like us is a great place to start, as we have staff who can offer valuable advice!

5. Have realistic expectations. How much time do you expect to dedicate to your garden? Will you be gone from your house for long periods of time? How much will this cost? It’s easy to jump into it and get excited, but make sure you choose what works for your lifestyle!

Considering planting a container garden or need help? See Whispering Springs Nursery! You can bring your containers in and we will be happy to plant them for maximum wow factor or we can help you choose the plants to do it yourself. Call 770-893-1254!

Perfect Pallet Vegetable Gardens

furnitureA DIY trend that has been prevalent online this summer concerns using pallets for creating furniture and all sorts of things. So Whispering Springs Nursery wants to share another DIY use for pallet with you. In this blog we will discuss creating a Vegetable Pallet Garden!

To begin with, you will need to get supplies. Pallet gardening is very simple, all you need is a wood pallet, some seeds and some good soil. Pallet gardening is excellent for new gardeners to try, is a great project for children and is good if you simply want to mix things up a little bit.

Tips for Choosing a Wood Pallet

New Pallets- if you prefer to start your garden with a new pallet, a quick Google search can help you find a distributor in your area. Generally, these pallets can be purchased for around $10.

(Looking for a bit more do-it-yourself fun? You can always stop by her local supply store such as Home Depot or Lowe’s, and get the wood and supplies you need to build your own wood pallet. However, sometimes it’s cheaper to go ahead and buy one already made.)

Recycled Wood Pallets- If you decide to use recycled pallets, check on the side to see if the pallet has been stamped with “HT.” This means that the pallet with heat-treated, instead of chemically treated. However, even if you do find the HT stamp, there is still no way to tell if chemicals were spilt onto your wooden pallet. To try to kill bacteria and remove chemicals from your old pallet, scrub the wood with a mix of bleach and soapy water (beware of rusty nails or staples); then let the pallet dry out completely before using it to plant anything. *Browse recycled wood pallets in Georgia here.

palletPlanting Your Garden

After you have selected your pallets and decided how many you are going to use, place the pallets on a flat surface in your yard. Adding landscape fabric / cloth or even a plastic barrier to the back of your pallet is optional. (Side note: one of the amazing advantages of pallet gardening is that you can put the pallets on the ground, on tables for easier reach or you can even use it as the base for a vertical garden.)

Fill your pallet with good quality potting soil or a container mix; using regular garden soil designed for planting beds is NOT recommended as it is too heavy for a pallet garden. Now it is time to plant your seeds or plants, whichever you have. Be sure your plants are positioned firmly in place. If you are planting a salad garden, you may want to plant one type of vegetable in each pallet so you can easily differentiate between them (of course a garden sign will help too). That is it! It really only takes a few simple steps to create a perfect pallet garden.

Plant Suggestions  

If pallet gardening seems like it is for you, here are a few suggestions of what others have found to grow well in pallets:

Bell peppers, eggplant, candlelight hot peppers, bush beans, spinach, cabbage, bush squash, summer squash, lettuce, cabbage, radishes, peas, beets, kale, scallions, ‘Tiny Tim’ and ‘Patio Hybrid’ tomatoes, to just name a few.

Be sure to try and choose plants that come in pest and disease resistant varieties. If you are unsure about these varieties, please feel free to contact us at Whispering Springs Nursery anytime! We are always happy to help fellow gardeners and love hearing about your new garden projects!
We hope you’re having a wonderful summer, and as always, happy gardening!

How-To Start Your Own Vertical Garden

garden upWhat is a vertical garden?

Essentially, a vertical garden is exactly how it sounds; your garden will grow upwards versus lying horizontally on the ground. Trellises attached to the ground or to large containers allow you to grow flowers, vegetables, etc., just like a regular garden.

What are the advantages of a vertical garden?

  • There are smaller beds to prepare and maintain. With horizontal gardening, there are spaces of soil between the plants that soak up nutrients that your plants could have. With vertical gardening, the size of the base will fit the size of the root perfectly.
  • It saves space! If you don’t have a lot of space in your backyard, this is a great alternative. A lot of people use it to cover an unwanted view, like a beat up wall or fence.
  • Fewer pests and diseases. Lifting your goods off the ground will make pests less destructive, and make it easier to spot an infestation if it appears.
  • Reducing the soil footprint needed to grow plants while encouraging denser growth.
  • Less pain on your own body make it easier to harvest. Harvesting flowers and fruit that are within waist and eye level prevent your back from feeling like it’s breaking!

Where do I start?cans

The great thing about a vertical garden is that anyone can do it! With just a few materials, you can easily create your frame for under $15.

For instructions on starting your own basic garden, here are 9 steps to get yourself started.

Looking to get creative? Here are 39 Insanely Cool Vertical Gardens.

Whispering Springs Nursery wishes you luck on your vertical garden process! Please contact us today or stop by sometime to discuss how we can help you!

castle

Scarecrows in July

field

Summer is rolling through and July is almost here! Whispering Springs Nursery of Jasper, Georgia hopes you and your family have been enjoying the warm weather and are spending some fun time outdoors! The upcoming date of July 5th is known as, “Build a Scarecrow Day,” and since scarecrows are important to gardens, we thought we’d explore this unique day.

Why Scarecrows in July?

It does sound a bit strange to have a day for scarecrows in July. Most of us associate these straw-filled friends with fall decor, not summer. However, from a farmer’s perspective, scarecrows are necessary for keeping birds away from crops while they are growing in the fields – which occurs in the summertime! So although they have become a decoration in the fall (the time of harvesting crops), now is actually when they are needed most during the growing season!

DIY Scarecrowsscarecrow

Interesting in making your own scarecrow, or at least sometime to deter the birds from your garden? Here are some easy DIY ideas:

  • Traditional Scarecrow: When you think about a scarecrow, this is the type that everyone pictures when you say the word. They are meant to look like people working in the garden, and can be made in a variety of manners. Simply gather your materials, build your scarecrow and post him in your garden. Plenty of DIY tutorials can be found online should you need help. In general, you will need the following supplies:
        • A Frame – Build a wooden “T” or cross to hang the scarecrow on or use another item, such as a large, metal stake to stick in the ground.
        • Old Clothing (pants, shirt, gloves, etc.)
        • Stuffing- Use straw, leaves or rags; newspaper can be useful, but needs to be covered for weather in a plastic garbage bag. Some even use empty 2-liter soda bottles, connect them & create a body frame.
        • Head & Hat- These are optional, but may give your scarecrow the right look to scare away unwanted birds from the garden.
  • Pie Pan Scarecrow: This ‘scarecrow’ does not look like a person. It is simply an empty aluminium pie pan tied to a wooden pole or stake with about a foot of string. The idea is that the pie pan is shiney and able to move and twist in the wind, creating an erratic clanking noise when it moves, causing birds to be scared away by the reflection and noise.
  • Moving ‘Bird Scarers’: Many stores sell these bird scarers, such as the owl with the wobbly head and the flying falcon bird deterrent. Other make simply add tricks to their traditional scarecrows, such as: adding pie pans to hang from the sides, using hats or other clothing that will flutter or move in the wind, and by adding old CDs and other reflective materials. DIY tutorials can also be found to create moving pieces that act as pinwheels, but that are created out of bottles, spare parts and sometimes even trash!

Scarecrow Tips for Success

Although scarecrows are meant to keep birds and even some other wildlife like deer and rabbits away, doesn’t mean that it will continue to work forever without a little work on your part. Be sure you move your scarecrow(s) around, try to add reflective elements or noisy pieces the wind can make move, and you may even consider changing up your traditional scarecrows wardrobe every now and then.

If you decide to make a scarecrow for your garden, we sure hope these tips help! Also, we welcome you to stop by Whispering Springs Nursery this summer to check out our inventory and say “hi!” We look forward to seeing you this summer and please, have a safe and fun Independence Day!

Questions or concerns? Please contact us at Whispering Springs Nursery today at 770-893-1254.


4th

Have a wonderful & safe Fourth of July from Whispering Springs Nursery!

Perennial Garden Tips

lilyWith the summer months ahead, like most Jasper homeowners, you’re probably looking forward to spending time in your outdoor living spaces surrounded by a rich palette of blooms and greenery. Perennials are a gardener’s favorite because they return every year to add splashes of color and texture to your yard’s beds and borders.

Here are some basic perennial gardening tips used by Whispering Springs Nursery for you to apply in your own garden.

Layout

Perennials are commonly displayed together, either in large flower beds with long borders and firm boundaries or in a meandering form. Follow these landscape basics to develop your own home gardening design.

  • Scale — Keeping a sense of proportion between your home, fencing and other structures is key.  A large house, for instance, may do better with wide beds and tall plants, while a smaller home is better suited for small beds and low-growing specimens.
  • Home style — Larger or more imposing homes with strong lines and architectural elements require a more formal approach, while smaller bungalows or cottages need an informal touch.
  • Dress rehearsal — Using outdoor electrical cord, a garden hose, rope, or chalk, lay out the lines of your proposed garden in advance. Tweak your plant placement until you’re satisfied, then make a rough sketch on paper to refer to on planting day.

Selection

Once your layout plan is complete, you’re ready to choose your perennial plants. In addition to selecting plants for color and bloom times, keep these points in mind:

  • Height and width — Research your perennials’ anticipated mature sizes to allow them enough room in your plan. Position taller-growing plants in the back of borders or in the middle of a center bed; plant smaller specimens near the front.
  • Variety — Diversity in the garden allows individual plants to shine while keeping the eye moving. Choose a variety of perennial forms from mound-formers to spiky accent specimens.
  • Area Appropriate — You’ll save yourself a lot of time, money and effort by selecting plants that are clearly labeled as either shade-lovers or sun-lovers, and are matched to their soil and watering needs.

June is Perennial Gardening Month! We hope these tips on gardening for perennials will provide you with some ideas to get your garden or landscape ready for summer!

For more gardening information or answers to your landscaping needs, visit our store or our Facebook page!


Summer Garden Prep


landscape

It seems incredible, but summer is already almost upon us again! At Whispering Springs Nursery in Jasper, Ga., we want to make sure your garden is properly prepared for summer, so check out a few of the following tips to get ready!

WikiHow’s Three W’s

WikiHow has some great tips for preparing your garden for summer, which include the three W’s. These stand for:

  • Watch
  • Water
  • Weed

Check out this short video to learn more about how to use the three W’s in your garden/landscape preparation:


Other Prepping

  • Mulching– We said it before, but mulch really is a valuable gardening tool! By mulching the areas around your plants with pine straw, wood chips, rocks, etc., you’ll help your plants stay hydrated and the soil retain moisture and a lower temperature.
  • Fertilize– Use organic fertilizer to give your plants nutrients they may be in short supply of.
  • Pest Prevention– If you use treatments (like sprays) for bugs and other garden pests, be sure to do this in the morning or at night. Just as with watering, your plants are susceptible to burns and damage by the sun if your use liquid on them in the midday heat of summer.
  • Lawn Mowing– Be aware of the type of grass your landscape has and check for proper mowing heights. It is not a good idea to cut your lawn too low in the summer (tempting as it may be).

Local Watering Regulations

As summer approaches it is good to find out what your local water restrictions are in your specific county. A quick Google search should bring up your county’s watering restrictions. If your county is strict due to a drought or other reasons, looking into conserving indoor and outdoor water for your plants is a great plan to get around this.

Whispering Springs Nursery

We certainly hope some of these tips will help give you some ideas to get your garden or landscape in shape for summer! If you have questions, concerns or simply need some gorgeous new plants, please stop by Whispering Springs Nursery. Also, please feel free to reach out to us by phone at 770-893-1254 or via social media, like on our Facebook page!

How to Start a Herb Garden

herb

We at Whispering Springs Nursery know that every gardener is different; some enjoy tending to indoor plants, some like to get their hands dirty outside in their landscape weekly, while others may prefer growing edible gardens as opposed to only visually appealing flowers and plants. Regardless of the kind of gardener you are, we all have to cook ourselves a meal once in a while (well if you cook!), so why not try out an herb garden?

Herb gardens are a great way to get started as a gardener. They are easy to start and require a small amount of maintenance and a little bit of sunshine, and often can be grown indoors as a kitchen garden. Herbs can grow in pots, but like most plants they like to spread out so being in the ground is always best. Some of the most popular herbs to grow (and cook with) include: cilantro, basil, oregano, parsley and mint.

The first thing to consider when you start your herb garden is location. Consider the environment that the herb grows best in. Most prosper in full sun, however if the temperature is consistently over 90 degrees then that can be a problem. With Georgia’s summertime heat, we would suggest that you plant the herb in an area that gets some sort of shade during the day. This could be afternoon shade or “filtered sunlight” which is where the Herb is planted under a tree and the sun shines through the leaves. Either way, check periodically to make sure the herbs are getting at least 4 hours of sun per day.

When planting begins, make sure that you give each one the correct amount of space to grow (we can help with that, just ask!) and this depends by herb, typically 1 to 4 feet in diameter. Ensure once you begin to plant that the soil is turned and loosened so that there is proper drainage and room to grow. This step is crucial to a thriving herb. Make sure and check the soil for dryness often. Water the herb when the ground appears to be dry and remember more water is not better! This can lead to a variety of issues and even inhibit growth.

Now, the fun part of harvesting comes. Make sure and cut close to a leaf on an older branch. This will make sure that it grows back quicker and makes room for newer branches.

We can always answer any specific questions about starting your herb garden or a particular plant you wish to grow. Our Whispering Springs professional staff would love to help you any way we can. Please feel free to stop by our Jasper, Georgia nursery sometime and speak with us in person!

basil

Basil in salad is the perfect addition! Enjoy!

Preparing for Outdoor Events

chairs

Whispering Springs Nursery in Jasper, Georgia knows that it is the time of year for outdoor events to really start rolling. From garden parties to graduations to weddings, the spring and summer months are simply ideal times to move events outdoors. To help we thought we’d offer a few tips and ideas to get your outdoor space ready for guests!

Basic Preparation

  • Clean up the area by removing any toys, random items (like lawn or gardening equipment) and debris sticks, branches, dead leaves and foliage off of your lawn.

  • Regularly water and mow your lawn. By keeping your lawn care on a nice schedule, your green space is more likely to stay healthy and well-kept for your event.

  • Watch out for troublesome insects. Pests such as fire ants, bees and mosquitoes, have the potential to make your guests pretty miserable. Ridding yourself of these pests may include trying a ‘whole lawn’ treatment for insects, but be very careful of using harsh chemicals that may affect your garden plants. If you have an edible garden, using pesticides and chemicals may not be an option at all. For mosquitos, try removing any standing water that mosquitoes could use to lay larvae in. For ants, use an ant spray or try a natural solution, to eradicate the ant hills before they turn into a huge problem at your event. Bees and wasps may be a bit trickier; in serious cases a pest control or wildlife removal service may need to be called.

Landscape Upgrades

  • Add a Water Feature. Whispering Springs can build water features with beautiful flow, that provide maximum sound and enjoyment while looking like a natural feature on your property.

  • Add an Arbor, Pergola or Bench. Nothing dresses up your green space more than a lovely wooden accent! We can build you a gorgeous pergola to weave stunning vines and flowers through for a wedding, or craft you a bench (or two!) for a lovely place to sit in your garden.

  • Add softscapes to your yard. Whispering Springs offers homeowners a variety of softscape services, including adding perennial beds, seasonal color beds, deer-resistant plants (common problem in Jasper), or landscape design including hardscapes and plantings.

As you can see, our Landscape division offers so many features to get your yard ready for your next big event! We offer landscape advice, design and installation for softscapes, hardscapes,  irrigation, water features, fencing, arbors and much more.

Whispering Springs Nursery hopes that your outdoor event is fabulous, but we’d love to help get your green space ready in any way we can help, from flower suggestions to landscape design and installation. Please contact us today or stop by sometime to discuss how we can help you!

outdoor

Greenhouse Growing – Part III

trees

The past couple of weeks Whispering Springs Nursery in Jasper, Ga., has had a Greenhouse Growing Series of blog posts, explaining why some gardeners prefer to grow in greenhouses instead of outdoors. As a nursery, we at Whispering Springs grow much of our vast plant selection in our greenhouses. To recap our past posts, some reasons to greenhouse grow are to protect your plants from pests and the elements; to collect solar energy to heat your plants, which do this by releasing thermal energy slowly through the night; and sometimes the look of a greenhouse (shape, style, function, etc.) may be appealing and give your green space a more little character and value. For Part Three of Greenhouse Growing, we shall review the growing seasons and challenges that come with greenhouse growing.

Growing Seasons

One of the great features of greenhouses, are their ability to allow gardening all year round. This means you’ll have all four seasons of gardening and growing to look forward to once your greenhouse is up and running!

  • Spring– Use this time to create seedlings. Start the seeds in trays and then move them into larger pots as they grow into seedlings. When all chances of frost are over, they can be moved outside.

  • Summer- Summertime is the ideal time to start perennials and fall flowers.

  • Fall- Get a jump on the holidays by starting your holiday plants, like amaryllis bulbs or Christmas cactus, during this time.

  • Winter- Use your greenhouse to protect annuals and other tender plants during this time. Winter is also a great time to grow cold-hardy vegetables, like spinach or kale.

Greenhouse Growing Challenges

While the benefits of having a greenhouse are incredible, there are still a few challenges to contend with on occasion:

  • Pests- If insects that are considered to be ‘bad bugs,’ get into your greenhouse, it is very easy for them to quickly infest it. This is because they will have plenty of food, water, shelter, and no natural predators around to eat them up. Keep your eye out for any pests!

  • Plant Diseases- Viruses, mold and fungi enjoy warm and humid conditions, making your greenhouse a perfect spot. Combat these by keeping your greenhouse well circulated and by isolating any affected plants.

This completes our Greenhouse Growing Series! We do hope this short series has been informative.  Regardless of whether you choose to grow indoors or outdoors, please stop by Whispering Springs Nursery sometime. We would love to show you around our vast selection of plants and flowers, and help you create some incredible garden plans for your home!

Questions or concerns? Please contact Whispering Springs Nursery today and don’t forget to give us a review or comment on our Google+ page!

flowers in greenhouse