How to Create a Flourishing Spring Garden

Spring has finally arrived! We know we’re not the only ones excited to dig into a fresh year of gardening. Make sure you don’t miss anything on your spring landscaping checklist.

Early Spring Checklist

  • shovel digging in dirtBefore you dig into spring planting, check your bulb beds to make sure things look good for bright, beautiful spring blooms.
  • Check the pH of your soil and supplement flowerbeds with fertilizer, lime, or compost to ensure plants stay happy all summer.
  • Prune fruit trees before buds appear on the branches. Remember: wait too long and you’ll stress the trees, leading to a low yield.
  • Divide and replant perennials, making sure each new plant has at least three stems.
  • Plant early spring vegetables like carrots, lettuce, onions, cucumbers, peppers, and tomatoes.
  • Clean up the landscape. Remove winter debris, repair damaged beds, and take your lawn mower to be serviced before the first mow of the season.

Mid-Spring Checklist

  • Plant fresh flowerbeds full of vibrant colors and eye-catching shapes.
  • Put your planters away until fall. Leave the birdbaths out and full of water.
  • Transplant seedlings for annuals.
  • Take stock of your spring landscape. Write down any notes about how to improve the view next year. Trust us, you’ll forget what you wanted to fix by next spring!
  • Apply mulch around flowerbeds to suppress summer weeds and help retain moisture.

Late Spring Checklist

  • Deadhead spring-blossoming bulbs.
  • Prune spring-blooming shrubs after they’ve spent their blossoms for the year.
  • Take a break and plant a fairy garden inside the house.

Do you need fresh spring flowers and shrubs, new tools and garden ornaments, tips on seasonal landscape care, or professional insight on your landscape design? Visit Whispering Springs Nursery for landscaping solutions in Jasper.

Sprinkle Fairy Dust Over Your Garden

Fairy gardens add a dash of whimsy to the landscape. They’re fun, simple to make, and brighten the yard even in the dead of winter. Ready to plant fresh enchantment? Make your own fairy garden with a little help from your friends at Whispering Springs Nursery.

How to Plant a Fairy Garden

We’re addicted to making these magical mini-landscapes. They’re a lovely addition to garden paths, porches, indoor spaces, or nestled into flowerbeds. Don’t worry if you’ve never planted a fairy garden before. This DIY garden project is as simple as it is stunning!

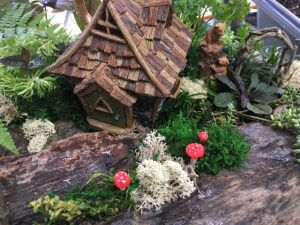
  • fairy garden at whispering springsGather your supplies. There are plenty of fairy garden items available in Jasper. Whether you’re looking for ceramic pots, fairy houses, tiny furniture, fanciful accessories, or lush plants for your fairy garden, you’ll find what you need at Whispering Springs Nursery.
  • Choose your spot. If you want a mobile fairy garden, look for ceramic and terra cotta pots, unique planters like wicker baskets or wheelbarrows, or empty spaces in your flower beds. If you’re planting your fairy garden directly in the ground, make sure the spot you choose has adequate sunlight and good drainage.
  • Arrange your design. Before you get started, it’s a good idea to plan your layout to ensure everything fits together. That way you don’t have to rip up succulents because you ran out of room for the cottage.
  • Plant your magic. Choose a potting soil that has adequate drainage. Plant large-root plants first, then arrange your hardscape items and fairy accessories. Voila! Your garden has been transported to a storybook world.

Time to spread some fairy dust! Visit Whispering Springs Nursery for fairy garden supplies and tips.

How to Make a Summer Garden Look Like Spring

Choosing the right plant for your landscape is only the first step in cultivating a garden that’s worth another look. Garden maintenance may be less fun than landscape design, but it does just as much for the beauty as planting bright annuals and richly textured trees. Are your plants wilting under the hot summer sun? Keep your yard bold and beautiful with our top summer garden care tips.

Summer Garden Maintenance

  • Do your homework. Can’t wait to plant new summer flowers or a fresh veggie garden? Before you dig in, do your research. Choose plants that don’t just look great together, but also have similar growing conditions. Test the soil before you plant and supplement it as necessary.
  • Dig in. Nobody wants weeds in the garden, but nobody wants to pull them up either. Weeding is unavoidable if you want a thriving landscape. Go ahead and dig in (or pay the neighbor kids to do it for you). Trust us, it’ll be a lot harder to uproot them later if you let them grow.
  • Deadhead. Maybe you went on vacation and your house sitter neglected the yard. Maybe you forgot to water for a week. But if your summer flowers look droopy, there’s a simple solution: deadhead. Remove spent blooms on your annuals and perennials and, with a little TLC, they may blossom again before summer ends.
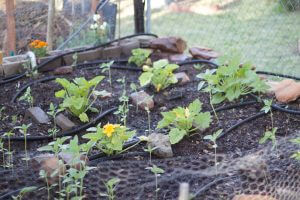
  • summer plants with soaker hoseWater. We live in Georgia after all. If you can’t survive 10 minutes outdoors without running inside for some sweet tea, you should seriously consider how much water you give your plants. Invest in a soaker hose, which allows water to penetrate the roots more deeply. Check how much water your plants need during the summer to survive. Most garden plants need about 1 inch per week.

Need a burst of inspiration? Whispering Springs Nursery has a wide variety of summer plants that thrive in the mountainous region of Jasper. Stroll our nursery and talk to our staff about planting and maintaining summer gardens.

Soaker Hose

The Buzz on Pollinator Gardens

Pollinators are an integral part of our ecosystem. They’re not just colorful birds flitting around our kitchen windows or butterflies dancing along the hedges. They’re the bees, bats, birds, and other creatures that are responsible for pollinating 75% of the plants we need for food, drinks, medicine, fabric, and spices. Unfortunately, pollinator populations are in decline. If you’re not ready to say goodbye to your morning coffee (coffee plants are pollinated by wild bees), it’s time to do your part in planting a pollinator garden.

Protecting Pollinators

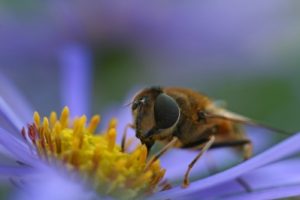
bee pollinating flowerPollinators are in decline. Habitat loss, pesticides, grazing practices, and introduced species have drastically affected the bee population in the last few decades. Since 2006, the US has lost 40% of its commercial honeybee population. The World Conservation Union predicts that the reduction in pollinator populations, along with a variety of other factors, may lead to the extinction of roughly 20,000 flowering plant species in the next few decades. So what can gardeners in Jasper do?

Planting for Pollinators

  • Before planting your first flower, take a look at your gardening practices. Are they eco-friendly? Reducing or eliminating chemical pesticides can go a long way toward helping pollinator populations.
  • Plant a variety of native plants that flower at various points in the year. This provides nectar throughout the entire growing season.
  • Don’t plant solitary flowers, trees, and shrubs. Clump native plants together in an artful arrangement. Not only will it look better, it has a better chance of attracting pollinators to the garden.
  • Avoid planting invasive species. If you’re new to the area, ask the folks at Whispering Springs Nursery which native plants will attract pollinators, and which invasive species will only cause more damage.

Time to get to work! Visit Whispering Springs Nursery for native plants, landscape design tips, and information on how to protect pollinators.

Bee

Holiday in the Sun

Keeping plants healthy when they’re fully exposed to sunlight can be a challenge, but knowing which plants are suited for full sun is the key. Try sticking with native plants, as well as plants that are tolerant to heat and drought. Then, simply plan an arrangement and put that green thumb to work!

Full Sun Annuals

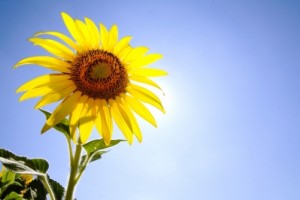
sunflowerBecause of their tendency to be tough and drought resistant, many annuals make popular and fitting choices for planting in full sun. Kansas’ state flower, the sunflower, isn’t picky about soil condition, making it a great choice for easy-going gardening in direct sunlight. Marigolds are similarly low-maintenance and come in different styles such as French, African and Triploid.

Full Sun Perennials

Plenty of perennials also fare well in hot, sunny conditions. Lavender loves hot, dry conditions, and smells wonderful anywhere you plant it. Any area that is nutrient-challenged is a great place for hens and chicks, or sempervivum, a unique style of succulent. The mother plant of this species always stays attached to its babies, helping them grow, so planting these with your children is a fun way to teach them about gardening.

Sunny Border Plants

The smaller, shorter plants used for edging and borders in your garden can often be susceptible to direct sunlight, but not with our help. It’s very important to keep soil type and moisture in mind when choosing your border plants. Yarrow, while technically an herb, is great for garden borders and is nearly care-free once planted. The beautiful daylily, which now has over 35,000 different hybrids, is another gardener’s favorite that needs little attention after you plant it.

For more help with your lawn and garden, contact the friendly gardening pros at Whispering Spring Nursery, or check out our services online any time.

Sunflower

It’s Deer Season…And We Have Deer Resistant Plants!

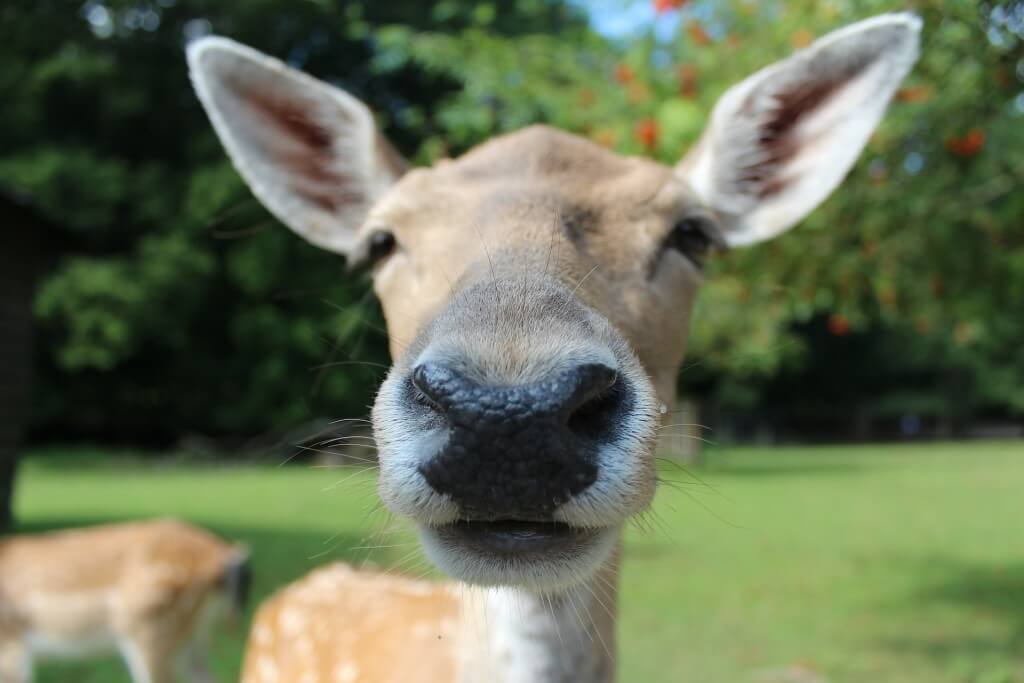
It’s deer season, and while this is a highlight of the year for many, it’s unfortunate for those who have their garden eaten to shreds. But did you know? Deer-resistant plants do exist! Here’s a little breakdown:

Something to keep in mind: Remember, plants are never completely deer resistant. They just have a much lesser chance of being severely damaged! There are plants that help lessen the damage. For a full list of deer-resistant plants, click here.

deer resistant plants

What plants to deer like? 

  • Perennials
  • Shrubs
  • Food, foraging and browsing crops
  • Trees

What plants to deer dislike? 

  • Poisonous plants. Not surprisingly, deer stay away from poisonous plants. Daffodils, foxgloves, and poppies are among these that emit toxins deer don’t enjoy.
  • Scented plants.  Herbs like sages, ornamental salvias, lavenders, peonies, and bearded irises come across as “smelly” to deer.
  • Prickly plants. Just like humans, deer don’t like the prickly plants! It causes them to feel threatened. An example of this could be a lamb’s ear plant.
  • Bleeding perennials. This perennial is one of the best deer-resistant plants out there.

Luckily for you, Whispering Springs Nursery in Jasper, GA specializes in deer-resistant plants! Give us a call at 770-893-1254 or visit our website services for more info! You can also check us out on our Facebook page for updates, tips and tricks and more.


Your Ultimate DIY Tree Pruning Guide!

Most of you all are putting away your tools for the fall…but don’t be so quick to retire! Did you know that colder weather is the perfect time to prune? The foliage is gone, and the branches are clearly visible! The tree is dormant, so there is no bleeding of sap, and there are quite a variety of trees less prone to disease in the cold. Here’s everything you need to know!

small shrub

Prune your shrubs this fall with these simple tips!

What Do I Need?

  • Hand Pruners: Used to remove small branches (up to the size of about your middle finger).
  • Loppers: Used to remove 2-3 inch branches.
  • Pruning Saws: These are specialized saws whose teeth are spaced widely. Good for 5-6 inch branches.
  • Chain Saws: Used to remove large branches.

What’s My Reason For Pruning? 

A guide to live by is the Five D’s: dead, dying, diseased, deformed or damaged. These are all valid reasons for needing to prune. Do a check up every once in awhile, things change quickly!

Why Should We Prune?

  • Strength. This means pruning to make sure the branches are strong and stable, eliminating the possibility of damage by rain or snow. Look for branches that are rubbing together, and remove one branch. Rubbing together causes open wounds that lead to disease. Also remove water sprouts of suckers, and don’t forget to look at the base of the trunk!
  • Form. Many trees will thrive once some of the interior branches are removed. It allows for air circulation and sunlight! Remove a few leaders, which are branches near the top that grow vertically. Also remove inward growing branches, or those growing downward.

Don’t want to take on the task yourself? That’s great, because Whispering Springs Nursery can do it for you! We specialize in the pruning of trees and small shrubs. Give us a call at 770-893-1254 and we’ll help you out. Check out our other services as well, we do it all!

Avoid Mistakes In Your Container Garden

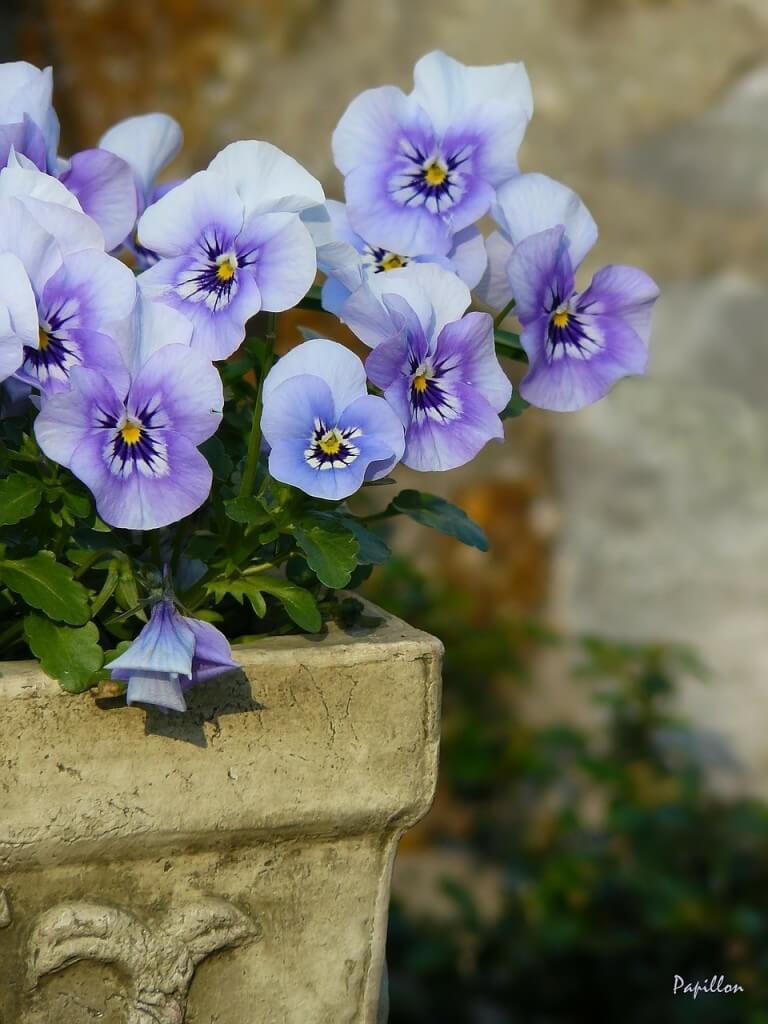
Container gardening has been a great way of gardening for as long as we can remember. It’s quick, it’s easy and you can make it your own by arranging pots with your own style! While container gardening may be slightly easier than planting into the ground, simple principles are often overlooked. Here’s a few things you may have overlooked!

pansy-260837_1280

image via pixabay

1. Move the big pots first, then fill! Luckily once filled with soil and plants, little pots are still fairly easy to move. But once the large pots are filled, they will be extremely heavy to move. Try to find a place for the large pots first before filling it, and assume it will stay there. You’ll save your muscles a lot of energy!

2. Don’t over water your plants. Not enough water can kill plants, but so can too much! Signs of over watering include yellow leaves or limp plants. Try to buy containers that have drainage holes. Also, check the moisture requirements for the plant you have, and follow those instructions accordingly.

Rule of thumb: Before watering, check if the soil is moist! To do so, stick your index finger two inches beneath the soil. If it’s dry, water them!

3. Don’t under water your plants! In the summer especially, most containers need watering at least once a day. Smaller ones or hanging containers may need more, because there is less soil to hold the water. Try to water until you can see the water coming out from the bottom of the container.

4. Buy healthy plants! When buying starter plants versus seeds, make sure your plants aren’t sick (disease and pest free). Buying at nursery like us is a great place to start, as we have staff who can offer valuable advice!

5. Have realistic expectations. How much time do you expect to dedicate to your garden? Will you be gone from your house for long periods of time? How much will this cost? It’s easy to jump into it and get excited, but make sure you choose what works for your lifestyle!

Considering planting a container garden or need help? See Whispering Springs Nursery! You can bring your containers in and we will be happy to plant them for maximum wow factor or we can help you choose the plants to do it yourself. Call 770-893-1254!

Perfect Pallet Vegetable Gardens

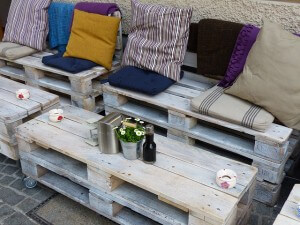
furnitureA DIY trend that has been prevalent online this summer concerns using pallets for creating furniture and all sorts of things. So Whispering Springs Nursery wants to share another DIY use for pallet with you. In this blog we will discuss creating a Vegetable Pallet Garden!

To begin with, you will need to get supplies. Pallet gardening is very simple, all you need is a wood pallet, some seeds and some good soil. Pallet gardening is excellent for new gardeners to try, is a great project for children and is good if you simply want to mix things up a little bit.

Tips for Choosing a Wood Pallet

New Pallets- if you prefer to start your garden with a new pallet, a quick Google search can help you find a distributor in your area. Generally, these pallets can be purchased for around $10.

(Looking for a bit more do-it-yourself fun? You can always stop by her local supply store such as Home Depot or Lowe’s, and get the wood and supplies you need to build your own wood pallet. However, sometimes it’s cheaper to go ahead and buy one already made.)

Recycled Wood Pallets- If you decide to use recycled pallets, check on the side to see if the pallet has been stamped with “HT.” This means that the pallet with heat-treated, instead of chemically treated. However, even if you do find the HT stamp, there is still no way to tell if chemicals were spilt onto your wooden pallet. To try to kill bacteria and remove chemicals from your old pallet, scrub the wood with a mix of bleach and soapy water (beware of rusty nails or staples); then let the pallet dry out completely before using it to plant anything. *Browse recycled wood pallets in Georgia here.

palletPlanting Your Garden

After you have selected your pallets and decided how many you are going to use, place the pallets on a flat surface in your yard. Adding landscape fabric / cloth or even a plastic barrier to the back of your pallet is optional. (Side note: one of the amazing advantages of pallet gardening is that you can put the pallets on the ground, on tables for easier reach or you can even use it as the base for a vertical garden.)

Fill your pallet with good quality potting soil or a container mix; using regular garden soil designed for planting beds is NOT recommended as it is too heavy for a pallet garden. Now it is time to plant your seeds or plants, whichever you have. Be sure your plants are positioned firmly in place. If you are planting a salad garden, you may want to plant one type of vegetable in each pallet so you can easily differentiate between them (of course a garden sign will help too). That is it! It really only takes a few simple steps to create a perfect pallet garden.

Plant Suggestions  

If pallet gardening seems like it is for you, here are a few suggestions of what others have found to grow well in pallets:

Bell peppers, eggplant, candlelight hot peppers, bush beans, spinach, cabbage, bush squash, summer squash, lettuce, cabbage, radishes, peas, beets, kale, scallions, ‘Tiny Tim’ and ‘Patio Hybrid’ tomatoes, to just name a few.

Be sure to try and choose plants that come in pest and disease resistant varieties. If you are unsure about these varieties, please feel free to contact us at Whispering Springs Nursery anytime! We are always happy to help fellow gardeners and love hearing about your new garden projects!
We hope you’re having a wonderful summer, and as always, happy gardening!

How-To Start Your Own Vertical Garden

garden upWhat is a vertical garden?

Essentially, a vertical garden is exactly how it sounds; your garden will grow upwards versus lying horizontally on the ground. Trellises attached to the ground or to large containers allow you to grow flowers, vegetables, etc., just like a regular garden.

What are the advantages of a vertical garden?

  • There are smaller beds to prepare and maintain. With horizontal gardening, there are spaces of soil between the plants that soak up nutrients that your plants could have. With vertical gardening, the size of the base will fit the size of the root perfectly.
  • It saves space! If you don’t have a lot of space in your backyard, this is a great alternative. A lot of people use it to cover an unwanted view, like a beat up wall or fence.
  • Fewer pests and diseases. Lifting your goods off the ground will make pests less destructive, and make it easier to spot an infestation if it appears.
  • Reducing the soil footprint needed to grow plants while encouraging denser growth.
  • Less pain on your own body make it easier to harvest. Harvesting flowers and fruit that are within waist and eye level prevent your back from feeling like it’s breaking!

Where do I start?cans

The great thing about a vertical garden is that anyone can do it! With just a few materials, you can easily create your frame for under $15.

For instructions on starting your own basic garden, here are 9 steps to get yourself started.

Looking to get creative? Here are 39 Insanely Cool Vertical Gardens.

Whispering Springs Nursery wishes you luck on your vertical garden process! Please contact us today or stop by sometime to discuss how we can help you!

castle